A Comprehensive Manual to Installing Vinyl Flooring Independently
A Comprehensive Manual to Installing Vinyl Flooring Independently
Blog Article
Step 1: Gather Your Materials and Tools
Before you begin, make sure you have all the necessary materials and tools. Here's what you'll require:
- Luxury vinyl plank flooring (LVP)
- Underlayment (if required)
- Utility knife or vinyl cutter
- Measuring tape
- T-square or straight edge
- Spacers
- Adhesive (if your vinyl planks are not self-adhesive)
- Rubber mallet
- Pry bar (optional, for removing old baseboards)
- Knee pads (optional, for ease)
Step 2: Prepare the Subfloor
Preparation is crucial to a successful installation. Start by taking out any old flooring materials, such as carpet or laminate. Check that the subfloor is clean, dry, and level. Vinyl plank flooring can be laid down over most existing floors, provided they are smooth and free of debris. If your subfloor is uneven, you may need to use a leveling compound to make a flat surface.
Step 3: Acclimate Your Flooring
Vinyl plank flooring should adjust to the room's temperature and humidity for at least 48 hours before installation. Place the planks flat in the room where they will be installed. This step helps avoid expansion or contraction after the flooring is laid.
Step 4: Organize Your Layout
Calculate the room carefully to figure out the best layout for your vinyl planks. Think about starting along the longest wall and proceed across the room. To get a professional look, stagger the seams of the planks in a pattern similar to bricks. This not only contributes to the visual appeal but also reinforces the floor.
Step 5: Install the First Row
Start by placing spacers between the wall and your first row of planks to allow for expansion. This gap will be hidden by the baseboard or trim later. Align the first plank with the spacers and use your T-square to ensure it is straight. If your planks have a click-lock system, connect the end of the second plank to the first by aligning the grooves and clicking them into place. Use a rubber mallet to secure the connection if needed.
Step 6: Continue Laying the Planks
Proceed across the room, placing spacers between the wall and the planks to maintain a consistent expansion gap. For the next rows, start with a plank cut to a shorter length to ensure staggered seams. Keep clicking the planks together, ensuring each is tightly connected before moving on to the next.
Step 7: Cut the Final Planks to Fit
When you get to the end of a row, you may need to cut the final plank to fit. Calculate the remaining space and mark the plank accordingly. Use a utility knife or vinyl cutter to score and snap the plank to the desired length. Be sure to leave a small expansion gap against the wall.
Step 8: Lay Down the Final Row
The final row of planks may require additional cutting to fit snugly against the wall. Use a pry bar to carefully tap the last row into place, making sure of a tight fit without damaging the edges.
Step 9: Finish the Installation
Once all the planks are laid down, remove the spacers and place the baseboards or trim to cover the expansion gaps along the walls. Ensure the baseboards are attached to the wall, not the flooring, to allow for natural expansion and contraction.
Step 10: Tidy Up and Enjoy Your New Floor!
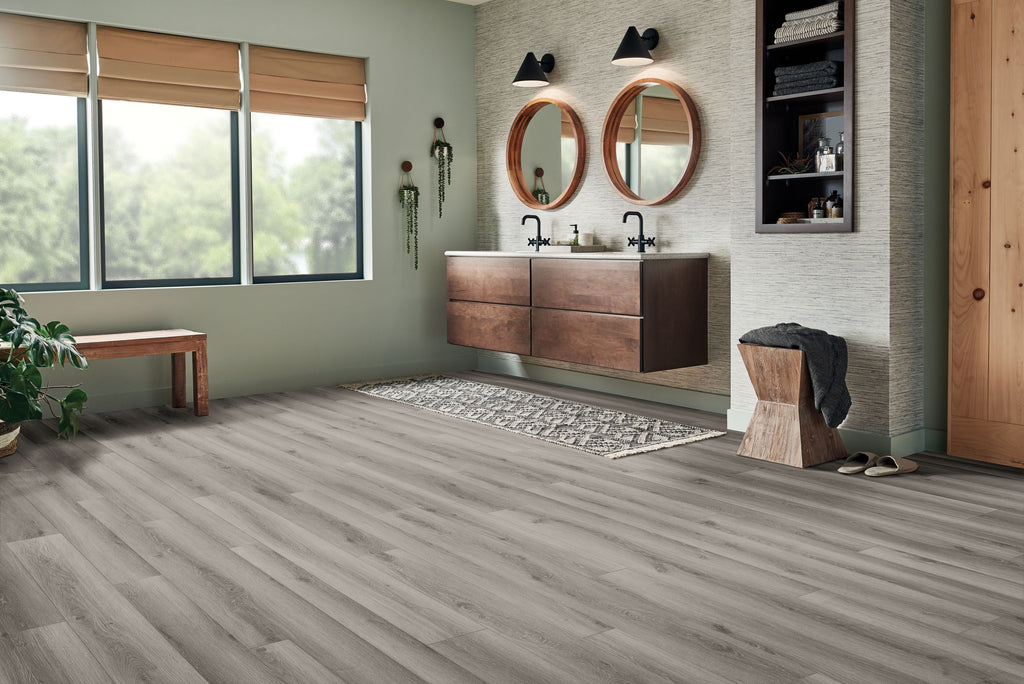
After laying down your new luxury vinyl plank (LVP) flooring in Clayton, wipe down the floor to remove any dust or debris from the installation process. Your new floor is now ready to endure the wear and tear of everyday life, adding both beauty and durability to your home.
Conclusion
Installing vinyl plank flooring is a feasible DIY project that can significantly boost the look and feel of your home. By adhering to these steps, you can achieve a professional-looking installation that will endure for years. For those who prefer have a professional manage the installation or need high-quality materials, think about reaching out to A1 Floors. With a wide range of flooring options and expert installation services, A1 Floors is your go-to source for luxury vinyl plank lvp flooring in clayton. Check out their website or showroom to learn more and begin on your flooring project today! Report this page